Here is how I did it this time around:

First I drew out all the lines for air hole, mortise and tobacco chamber. Then small off cut pieces of briar was glued into place as in the above photo. These were used as support for a live center in the tail stock of the lathe, with the bit chucked into the headstock.

With freehand drilling, the drilling procedure works a bit different for me than with normal drilling. First I drill the mortise, as normal.
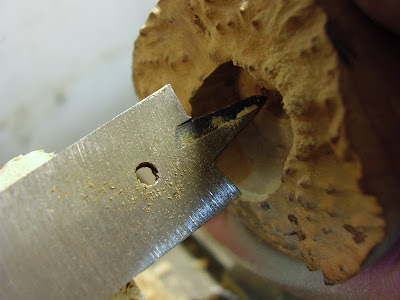
But then I immediately went to drilling the chamber, instead of the air hole. The above photo shows where I am using a normal spade bit to pilot the hole.
Here you can see how the tail stock is used as support to feed the stummel onto the bit. After the initial cut with normal spade bit, a chamber bit is used to finish the hole.
The final step was to drill the air hole. This time the drilling was done real "freehand".
PS - Dead center this time around.
PSS - No whisky needed to drown my sorrows, although a celebratory one was consumed!


Awesome post Charl, thank you for taking the time to show us step by step the work involved. Fascinating stuff, well done!
ReplyDelete