
Welcome!

Welcome to my world of pipes. On these pages you will see some of what goes on in my workshop. A bit of work-in-progress, mess-ups (they do happen!) and also some other pipe-related posts.
I love talking about and discussing pipes, so feel free to contact me at charl.chillfactor@gmail.com.
Should you wish to have a look at my pipes, please drop in at my website (http://goussardpipes.com/).


April 29, 2011

Briar and flaws


Working with a natural product like briar, means that your chance of getting that perfect pipe is, well, not very good. Ever wondered why the topnotch pipemakers can ask so much for certain pipes? Those pipes have absolutely no external flaws, blemishes or even little pinpricks!


When looking at a block of briar, you have absolutely no idea what lies inside. Briar blocks are not x-rayed to see what's inside! Besides, the additional cost will definitely not be worth the while. So, you judge a block from what is on the outside. Sometimes you're lucky, sometimes not.


Now this is one of the areas where an artisan pipemaker has the advantage over factory turned pipes. At a factory, they have to make, say a 100 pipes for a certain shape. So they take 100 blocks, chuck it in a machine, 3 or 4 steps later, they have a pipe. Flaws? Nah, in the bin!


But, the pipe artisan can, on the other hand, work with the grain and flaws. One by one pipe is made. Every block is taken individually, a pipe envisioned to enhance the grain best, and when flaws and blemishes appear, there is always a chance that he can work around it. Make the shank a bit thinner, change the shape of the bowl, sand a bit more here, lower the rim etc.


For some reason, the general pipesmoking public see sandblasted pipes as inferior, cheaper. It is most definitely not! Go and have a look at JT Cook and Bruce Weaver, for example. They make pipes with sandblasting as their main objective.


I only sandblast when there is absolutely no other way for me. If removing the blemish will mean that I end up with 3mm thick walls I most definitely won't try and sand it out! Imagine a bulldog with perfect lines and a flaw on the shank. The shape is perfect, all the technical "internals" have been drilled perfectly. All the work and hours gone into one pipe and no reason for the pipe to be a bad smoker.


Will it take less time than a smooth pipe? Yip, certainly! And most of the time the price reflects that. But, a straight grain would have been more economically viable. Most makers do it for a living, mouths to feed, bills to pay. And of course more time is spend on a perfect tight straightgrain. Wouldn't you as well?


Will it smoke worse than a smooth? Nope! No self proclaimed (and self respected!) pipemaker is ever going to sell a pipe that he has doubts about.


Is it going to look worse than a smooth? Well, for me smooth always win! But, a pipe that has been placed in the block correctly, following the grain, will always look good when blasted.


April 1, 2011

On the bench

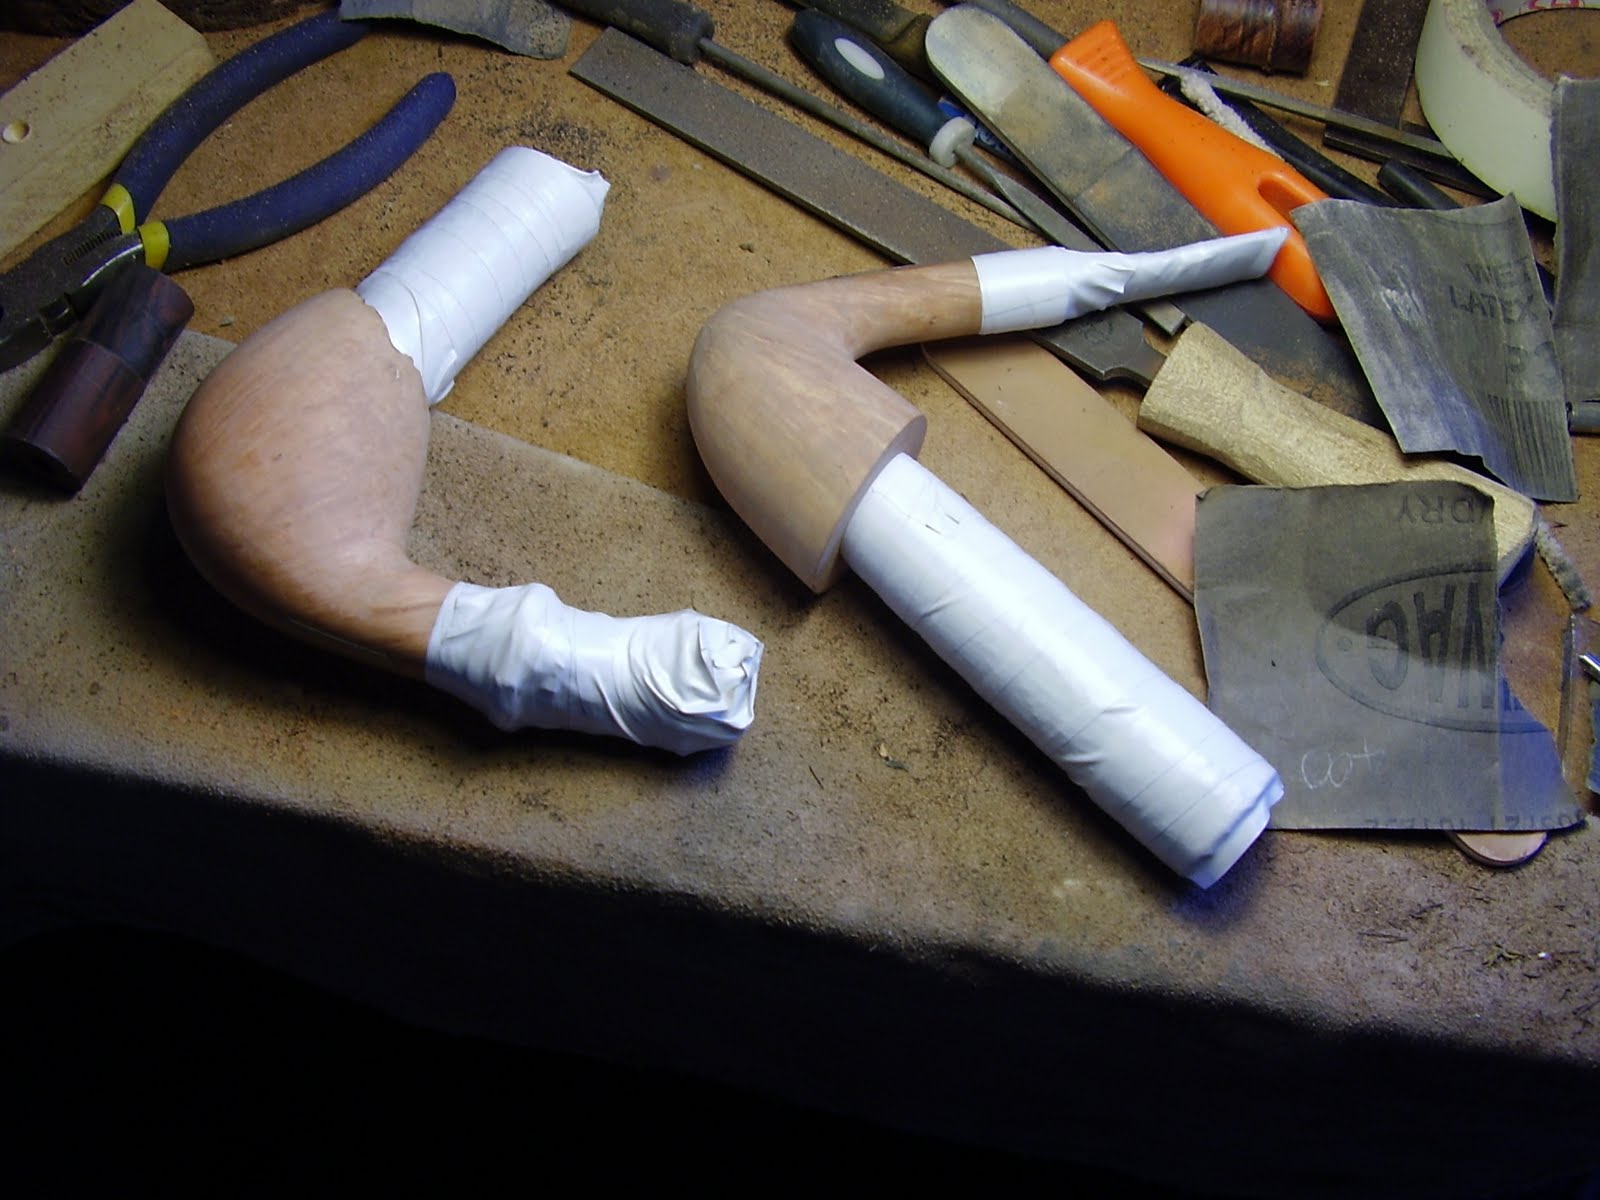
The 2 pipes in the front are close to completion. Bowls are coated and sanding finished, just waiting for the logo and final polish. The reddish one is a canadian pot with cumberland stem. The chocolate one in front is a longshanked egg with white acrylic inlay in a saddle type cumberland stem. On the stand in the back are 2 waiting to be called pipes. Rough shaping is done and now it's time for tweaking. The one on the left is hoping to become an author and the one on the right an apple. Only time will tell! The wood of the author is perfect flamegrain up the sides and nice birdseye on the bottom and rim, with no blemishes. The apple have stunning tight grain, but unfortunately a pinprick blemish on the shank reared its ugly head. Hopefully I'll be able to get rid of that and end up with a smooth contrast-stained pipe.

March 7, 2011

Third time lucky, ugh, 4th time lucky..


A lot of time when making a pipe, a little hiccup happens. You forget to clean the epoxy when gluing a insert, or a flaw suddenly emerge right where you don't need it, you take off just that little bit too much when turning a tenon, and so on, and so on. Little mistakes that can be worked around.
You also get pipes that just flow. You'll envision the pipe, cut, drill, shape etc. exactly how your idea was from the start right through to finish. Needless to say it doesn't happen very often!
Briar is a natural product and thus throw us these little curve balls.
But, a pipemaker have the chance, and most often, ability, to work with this imperfect block, trying to coach the best possible out of each individual one. We don't need to turn a 100 pipes in exactly the same shape and size. This is one of the reasons why a handmade pipe should, most often times in any case, be far superior to factory turned ones.
Then, you get those dreaded pipes where everything that can possibly go wrong, does. This was the case with the above pipe!
First off I had the briar shank too long. It just didn't look right. So I made it a bit shorter. And it still wasn't to my liking. The third try did it for me, eventually.
Then a ugly flaw reared its head on the stummel. I was doing my "fine tuning" of the shape, just had to get a hair width off that particular spot, touched the sanding wheel very lightly and delicately and wham, the flaw appears! My two workshop companions, the garage cat and my sheepdog, decided to leave the close vicinity of their boss very quickly!
Then I started on the stem. Using my usual bit for stainless tenons, doing everything exactly like normal, I ended up with a loose tenon! OK, Charl, no problem. So I do it again, much slower this time, making sure that everything is indeed like normal procedure. The hole ends up too big!
So I go and buy a new bit, drill another stem, and this one ends up too big as well. On the 4th stem, I decide to re-sharpen the old bit, drill the cumberland, and it fits like a glove!
The whole pipe probably took me 4 times the time that it should have. And, hopefully, the Pipemaking Demon will now be satisfied for at least another 20 or so pipes, before he strikes again!

February 11, 2011

A pipemakers table

Well, I suppose not necessarily all pipemakers!

This is what my finishing table, normally, looks like. I tend to get so engrossed in the pipe I'm working on at the moment, that I don't really notice what mess I'm making as I go along! Every month or so, OK, maybe every 2 months or so!

One thing that a pipemaker can never have enough of, are files, and lots of them. A pipemaker can never have enough. All shapes and sizes and cuts. From rasps through to needle files. For some reason there always tend to be a certain shape or size that you don't have, just to get into that special area on a certain shape!

On the left, you'll see a candle. It's not in loving memory of a long ago passed away aunt or grandad. I use it for bending my stems. Some other guys love to use a heatgun or the laborious salt-box-in-oven method. But this is what works for me.

Next to it is a bottle of stain, of which I have various colours. That is to say, various "normal" pipe colours. I'm not one for these crazy blues, purple and greens you sometimes get.

To the right of the cloth is a short stubby and very sharp knife. It used to belong to my grandad, who, being somebody who never threw anything away, probably got it from granny after she didn't have use of it in the kitchen anymore. I have quite a few of these that I use for various stuff, but this particular one is used for scraping the stem. It often happens that there are some scratches on a stem that are hard as hell to get rid of, no matter the grit or amount of sanding. This works like a dream!

January 27, 2011

New home for Goussard Pipes


Due to the gracious nature of my pipesmoking-friend, Dean, Goussard Pipes now have a new home. If you care to have a look, please go to http://goussardpipes.com/ . He's done some marvellous work!

From now on, this blog will be used to show pipes that I'm currently working on, some of the trials and tribulations in the wonderful world of pipemaking and also some other pipe-related stuff.

Here is a photo of what I'm currently working on. The half-shaped pipe is my impression of an elephant's foot. The grain seems very promising and I can't wait to see the result. The block of plateaux is next in line, with a rough outline of what I envision, drawn on the side.

January 7, 2011

#1101 and #1102

My apologies for not having any measurements for these 2 pipes, I suppose with a little one in the house the mind is the first thing to go!

#1101:
First off is this bamboo-shanked pickaxe. It was a commission for a pipesmoker friend of mine and I'm quite satisfied with it!


#1102:
This one is on its way to my friend Jaume in Spain. The stem inlay is kudu horn.


December 4, 2010

#1014


Stummel: african blackwood
Height of bowl: 52mm
Depth of tobacco hole: 40mm
Bowl size: 26mm
Length of pipe: 153mm
Stem material: german cumberland
Price: Reserved
I normally don't like making big pipes, but this block just turned out too nice to resist. Made on commission for an American friend.